
Giù Le Arche - I
Step 1 - Pencil Sketch & Ink

Giù Le Arche - I
Step 2 - Final Inking

Giù Le Arche - I
Step 3 - Initial Watercolor

Giù Le Arche - I
Step 4 - Final Watercolor

Giù Le Arche - I
Step 5 - Watercolor Detail

Giù Le Arche - I
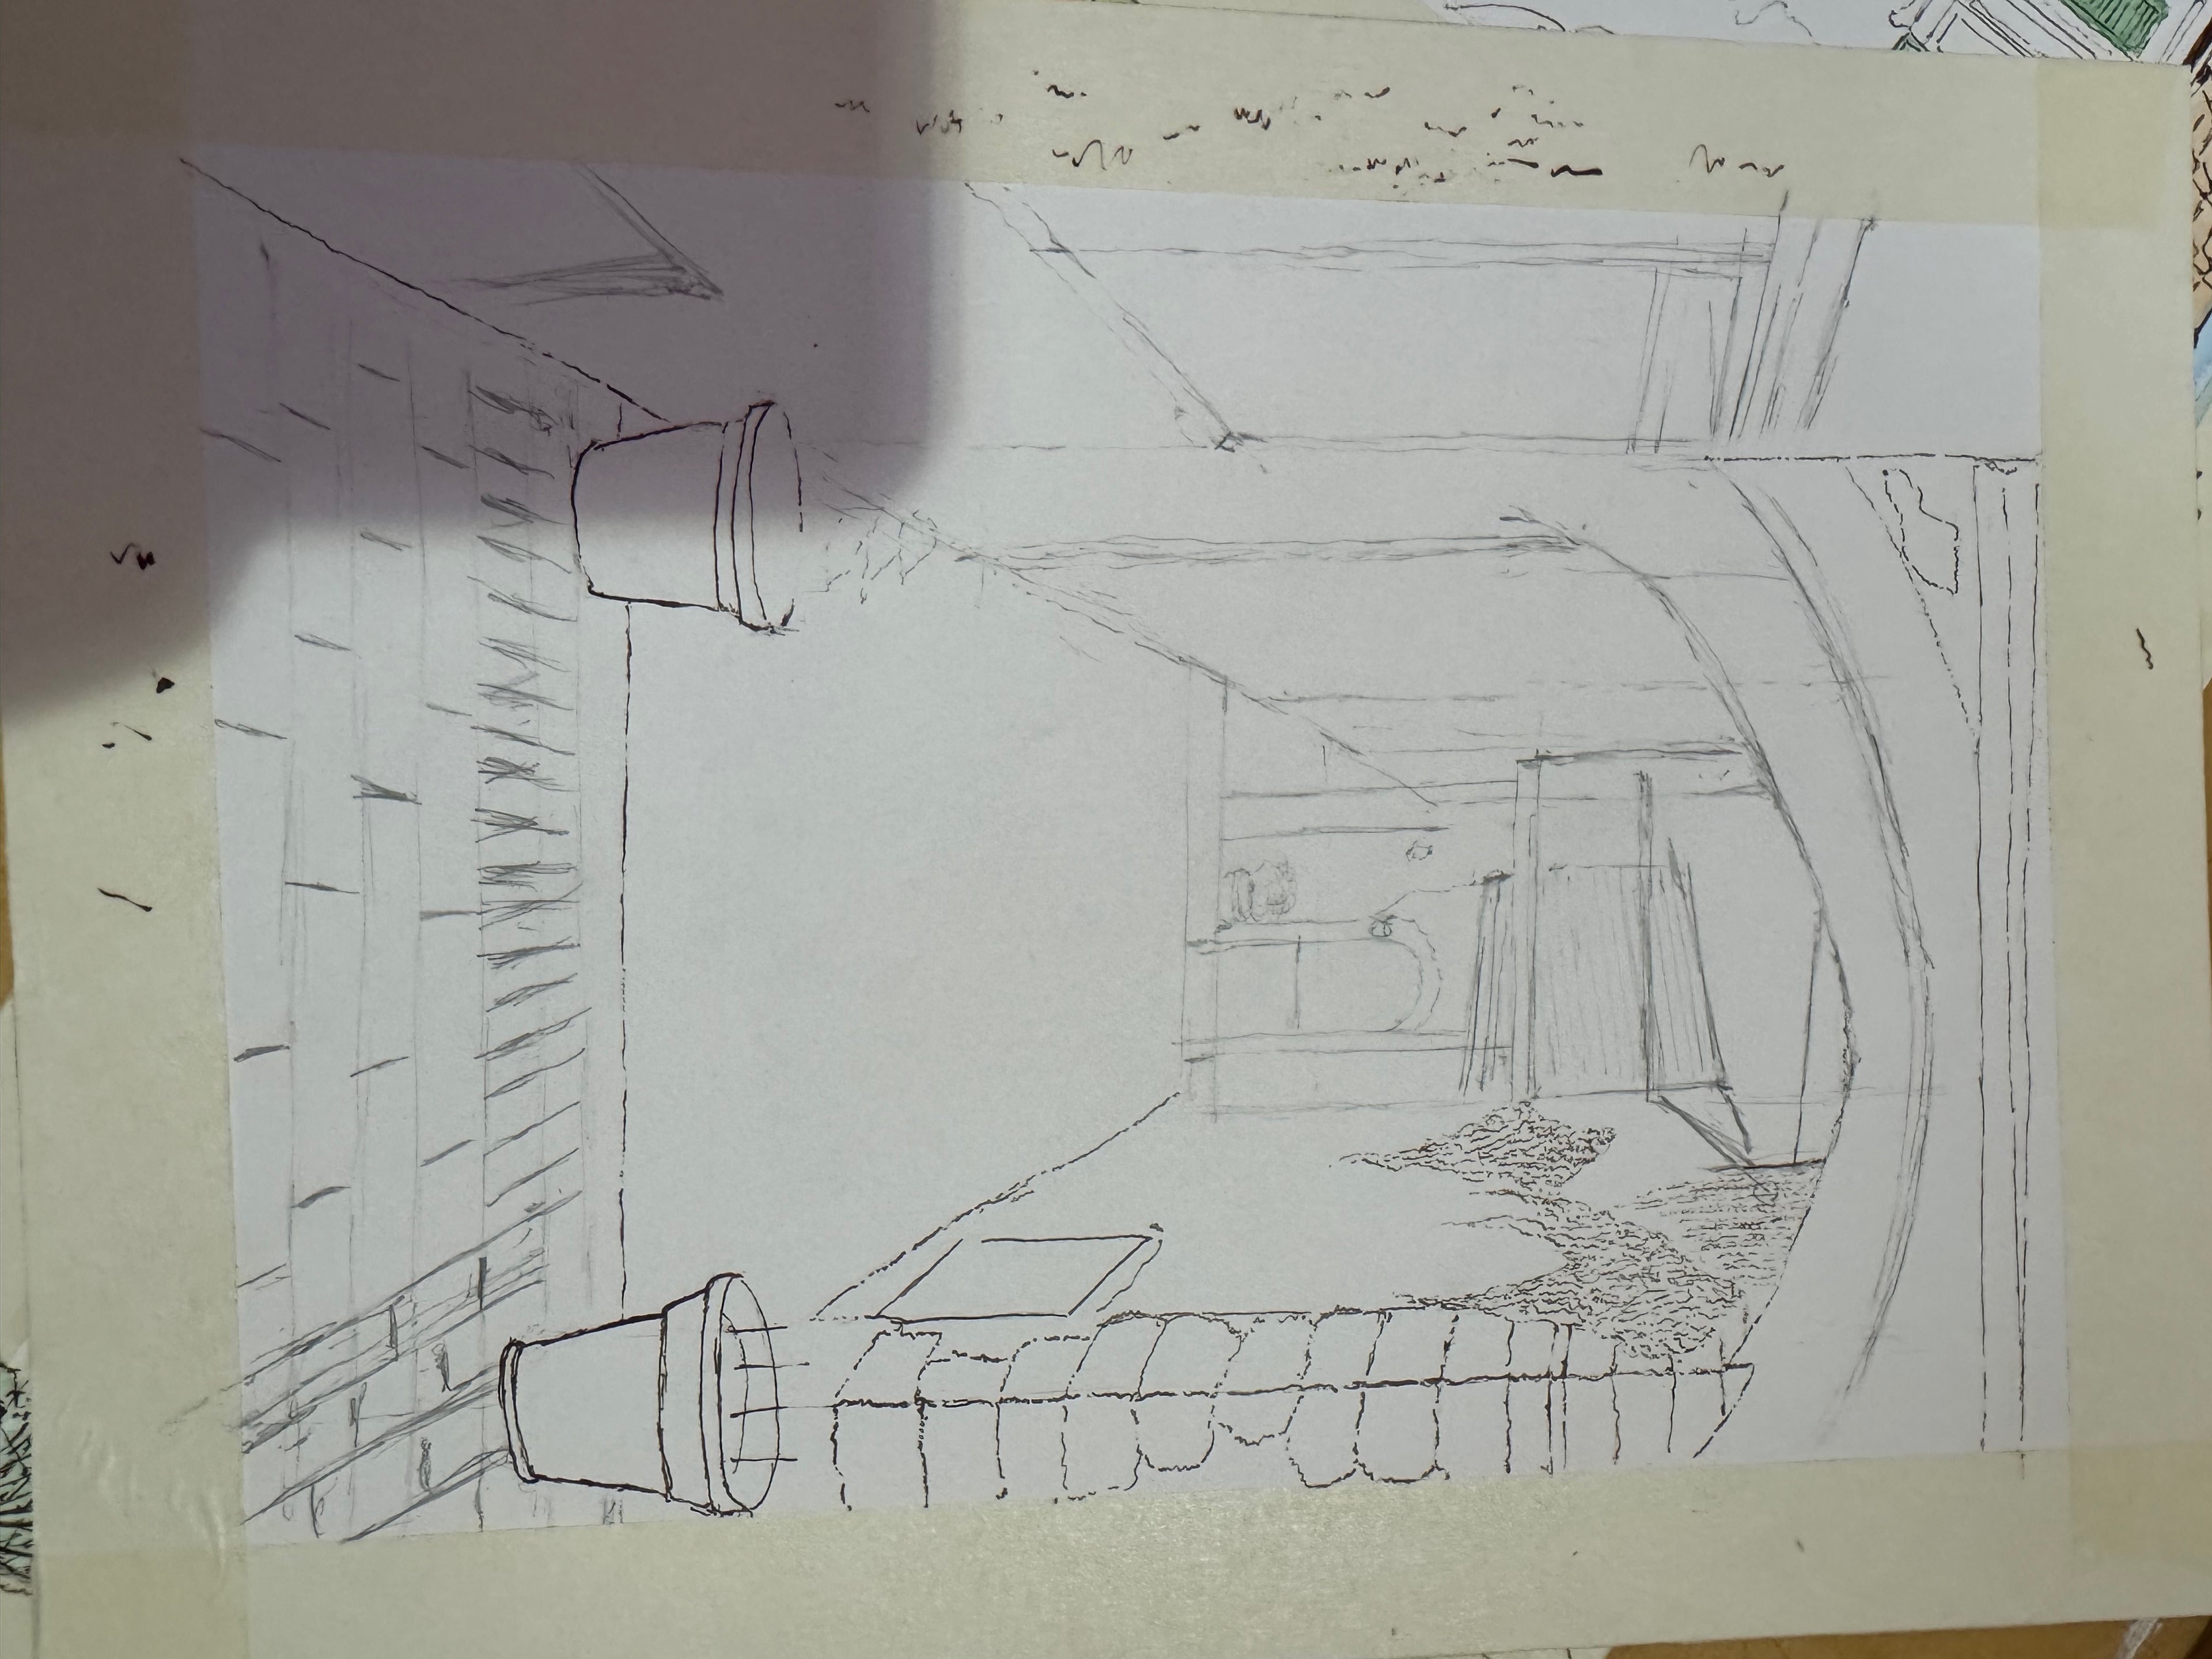
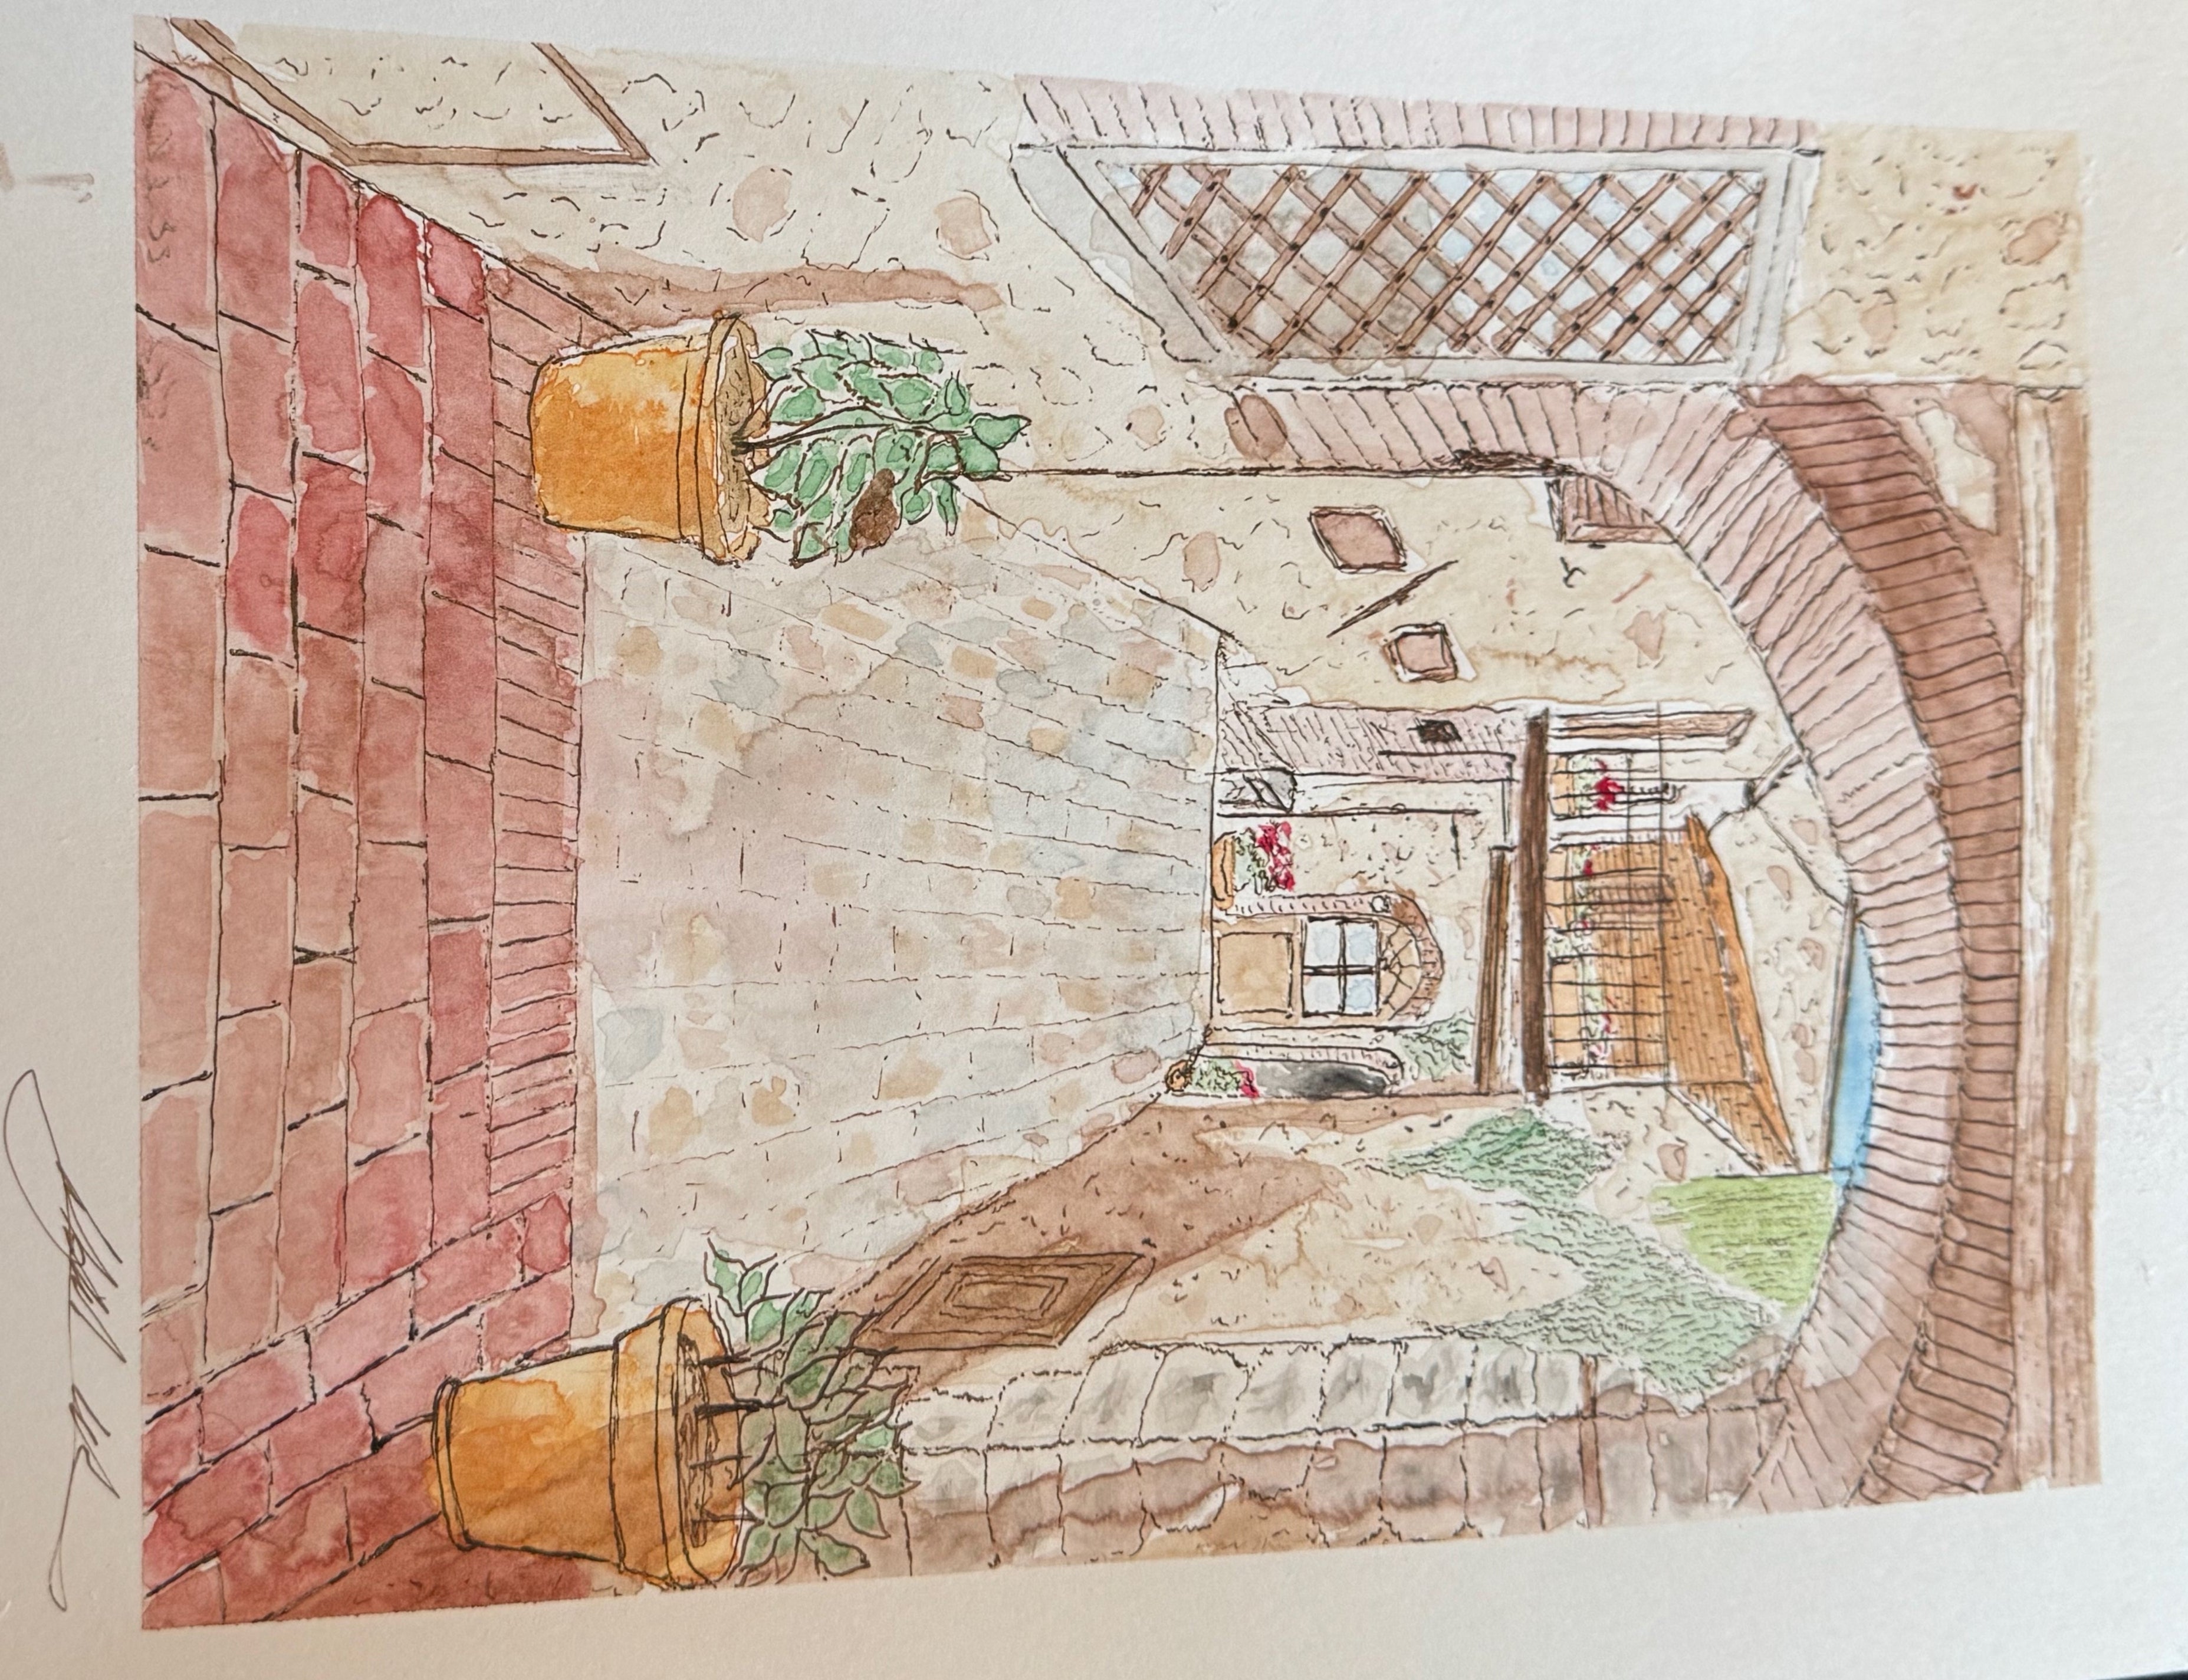
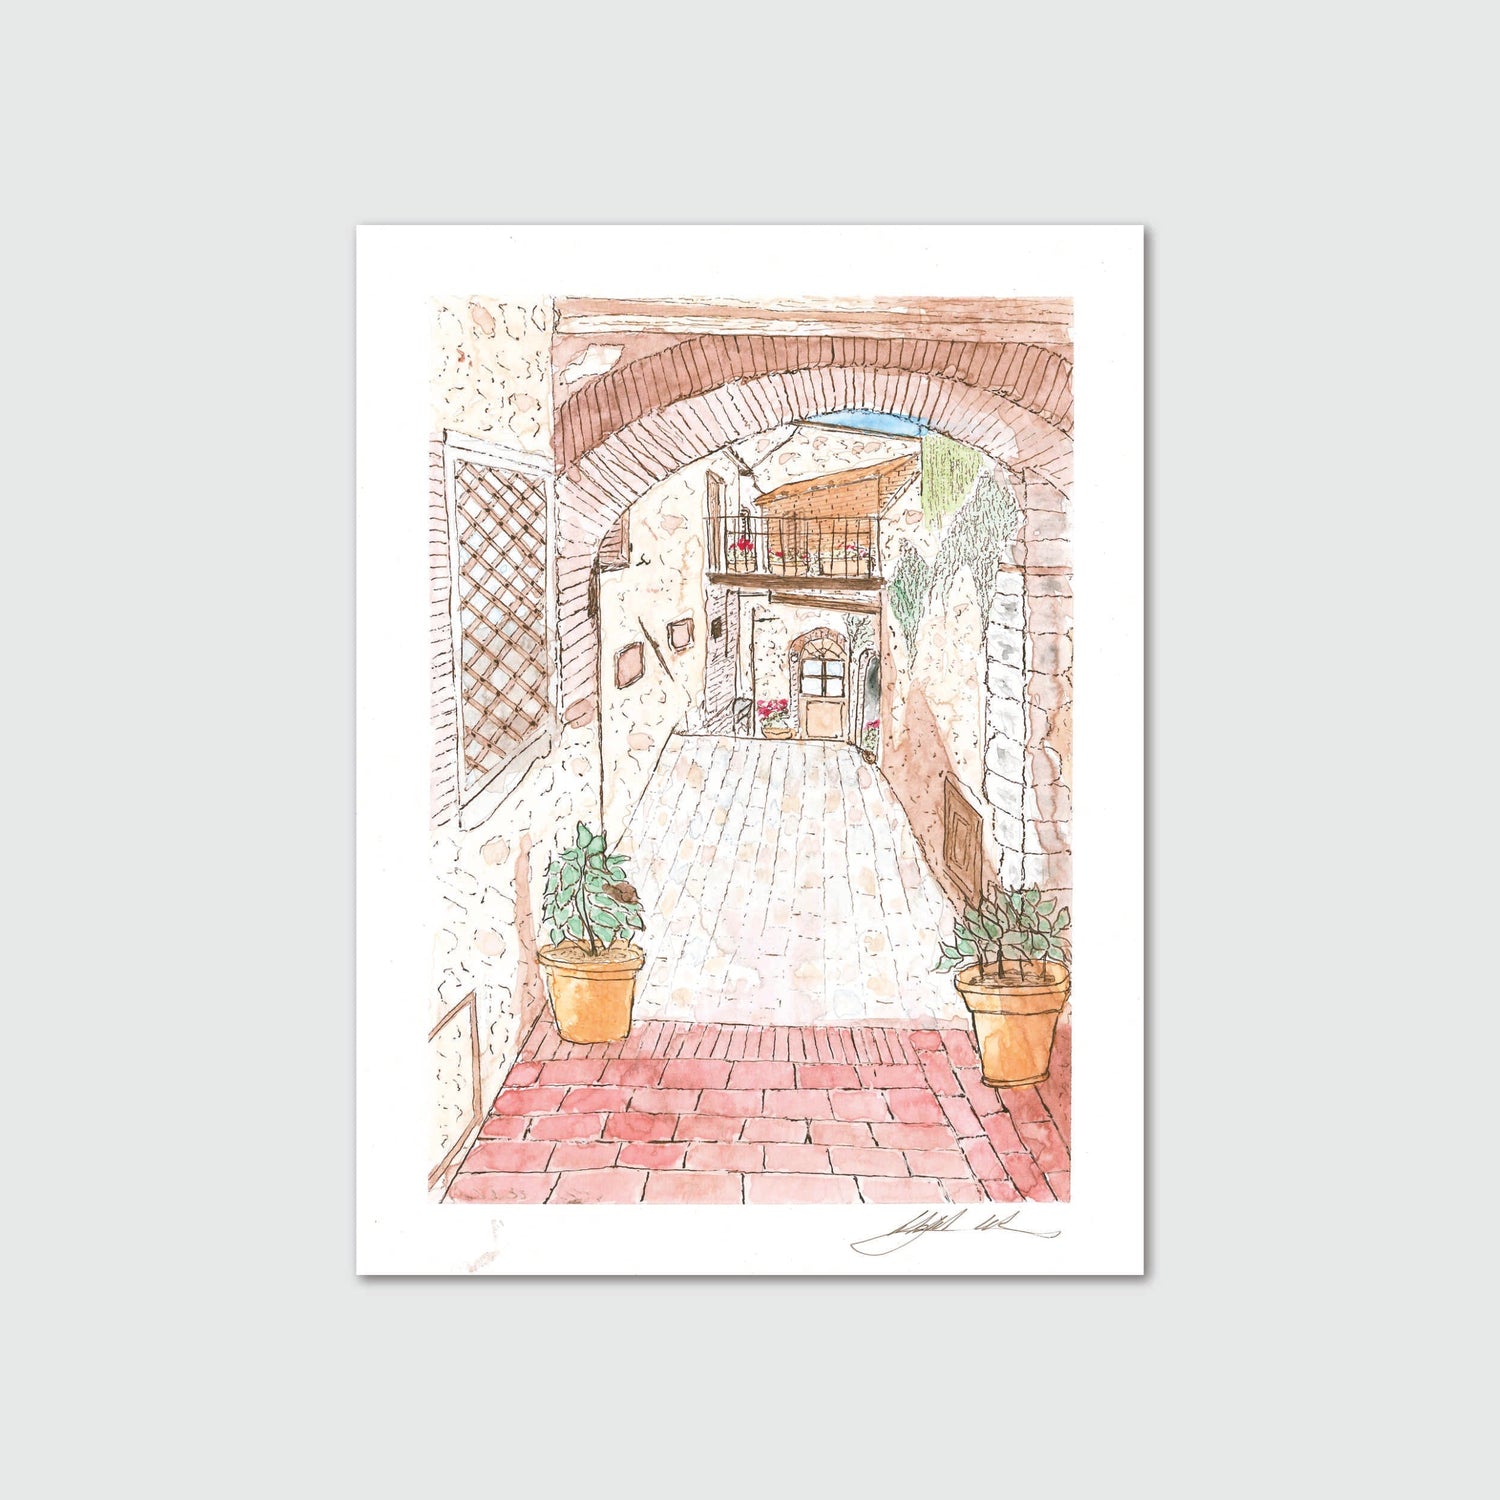
"This is one of the pieces that I am most proud of from this past Spring, if for no other reason than I really pushed the boundaries of my color mixing and techniques."
This is one of the pieces that I am most proud of from this past Spring, if for no other reason than I really pushed the boundaries of my color mixing and techniques. As with most of my pieces, I began with a simple pencil sketch to flesh out the perspective of this "tunnel-like" feature in the medieval village of Pari.
Once I felt like I had a good handle on the overall layout and proportions of the piece, I began the inking process. I used a mapping (maru) nib with Dr. Ph Martin's "Van Dyke Brown" India ink — a warm brown that would work well with the darkened surroundings and the redness of the brick pavement.
After the inking, I began mixing the colors. For this piece, I was determined to work with a more muted, earthy palette than what I was typically used to. I created a wide range of reds, maroons, and browns to speak to the darker tone of the archway, and took the time to paint out the rectangular structure of the stonework outside of the arches.
To finish this piece, I used one of my Tintoretto mop brushes loaded with water to give some "splooshiness" to the tiles by blurring their edges to emulate the effect of the weathering on the stonework.